DIY Bartop Arcade Cabinet
I followed the instructions from https://www.instructables.com/id/2-Player-Bartop-Arcade-Machine-Powered-by-Pi/ but made some modifications. In this post I will describe the changes.
Cuts for T-molding
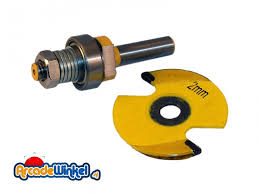
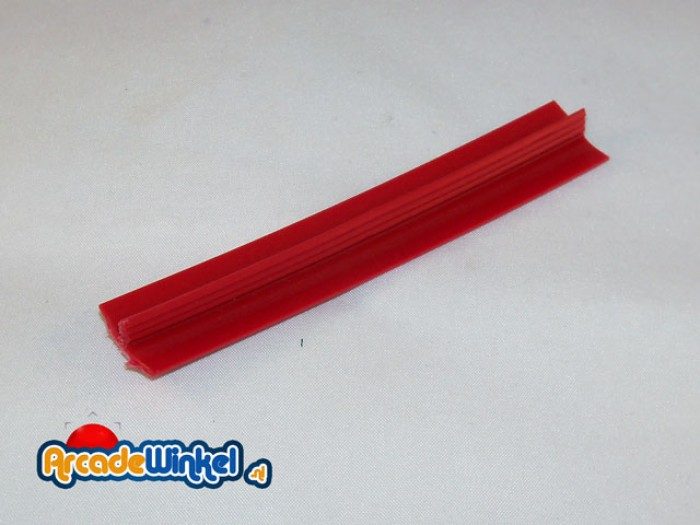
Instead of using two boards of MDF 6mm and 9mm I used this router bit to cut the hole for the T-molding in a 18mm MDF board. I bought this router bit and T-molding at www.arcadewinkel.nl.
T-molding
I bought the 3 meters of T-molding at www.arcadewinkel.nl. It is 19mm T-molding but it's ok for 18mm MDF. I did not T-molding at the bottom like the instructables.
LED lighting
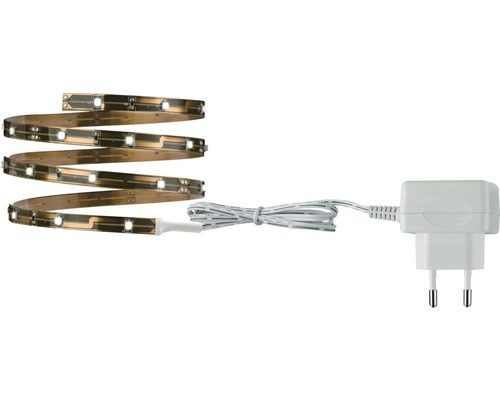
I bought the led-stip for the marque at www.hornbach.nl but any ledstrip wil do.
NICE PRICE LED Strip set 100 cm 3,2 Watt 230 Volt warmwit Energieklasse A+
Art. 8845605
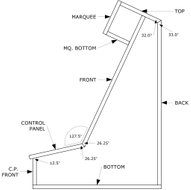
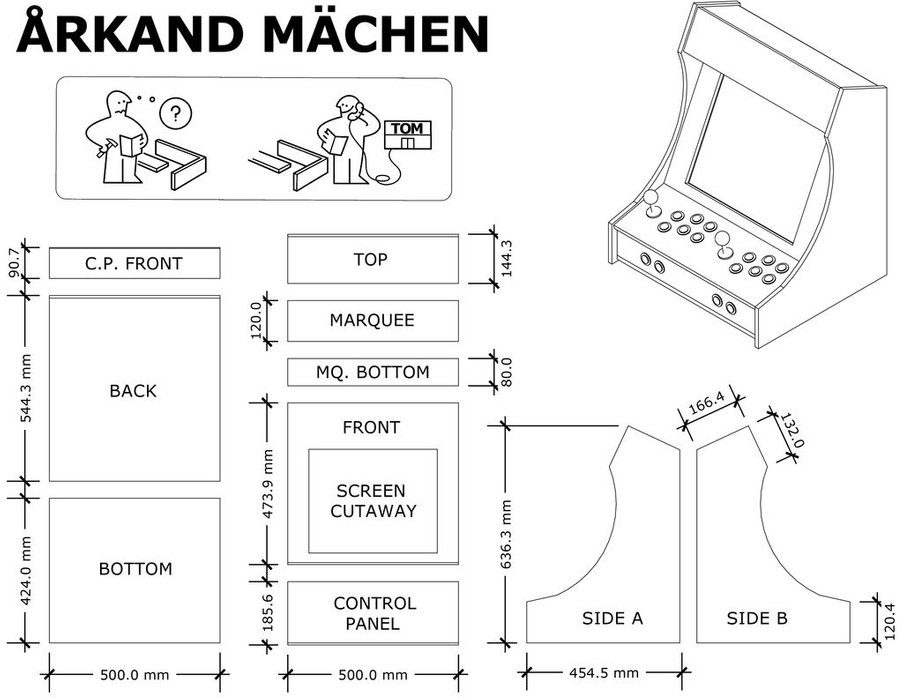
I used the construction drawings from instructables to to build the cabinet. instead of using two boards of 6mm and 9mm MDF I used a board of 18mm MDF as described earlier.
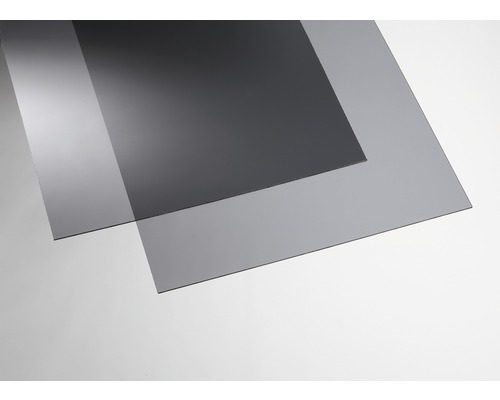
For the marquee and control panel I bought some acrylic plate at www.hornbach.nl. Instead of 3mm the plate is actually 4mm thick
GUTTAGLISS® Plexiglas Acrylcolor glad grijs 500 x 500 x 3,0 mm Art. 8055698
Buttons and Joysticks
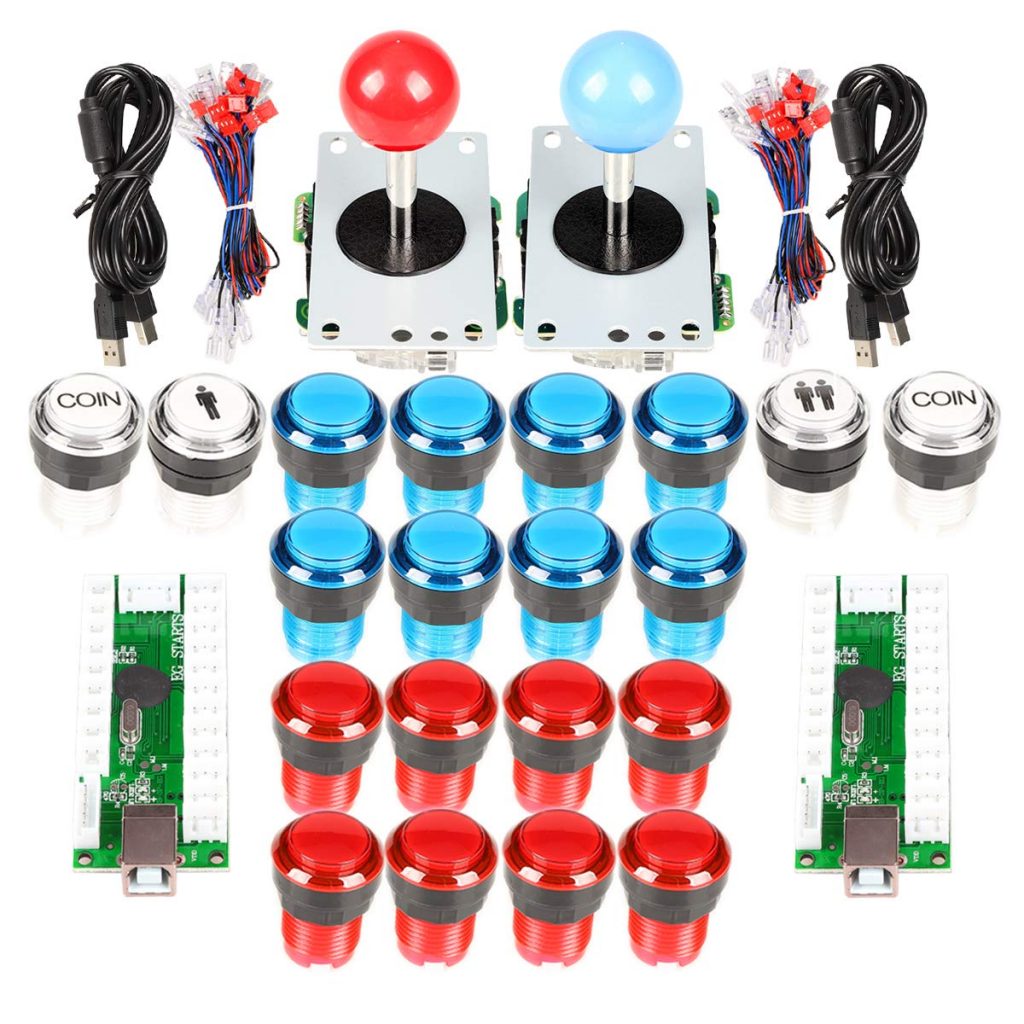
On amazon.de I bought the arcade set at EG-start. It's a complete set ready to connect to the raspberry pi.
EG STARTS Arcade Schrank Teile 2x 8-Wege-Joystick + 16x LED beleuchtet Push Button + 2 Spieler + Münze Tasten für Raspberry Pi 3B Model Project DIY
Sound
For sound I used an old PC-speakerset, in the bottom of the marquee I drilled holes on both sides of the marquee (stereo) and mounted the speakers on top of them. (see the pattern bellow)

Side Art
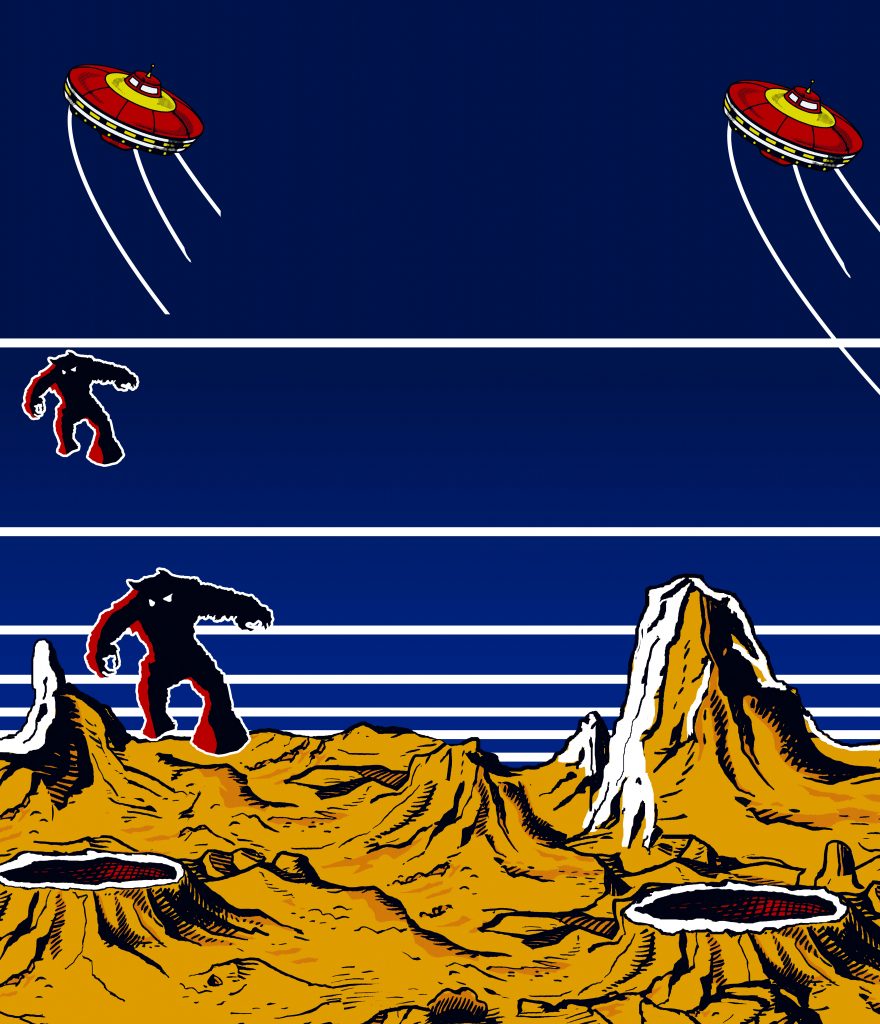
The side art I designed myself I took a high res picture from the internet and changed it a little so it would fit the side of the cabinet. the left side art picture is a mirror image from the right side, in this way it looks a lot better on the cabinet. From the pieces left over I made the art on the control panel. The side art I ordered at www.drukland.nl I ordered the outdoorsticker without any extra, the quality is very good.

Marquee
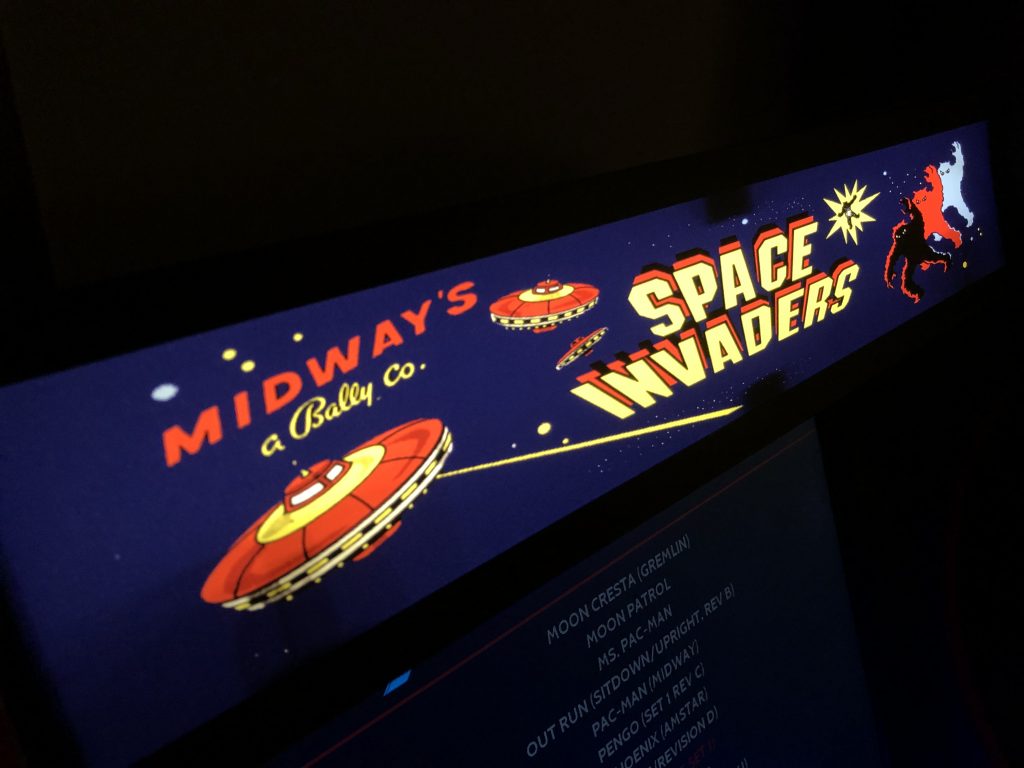
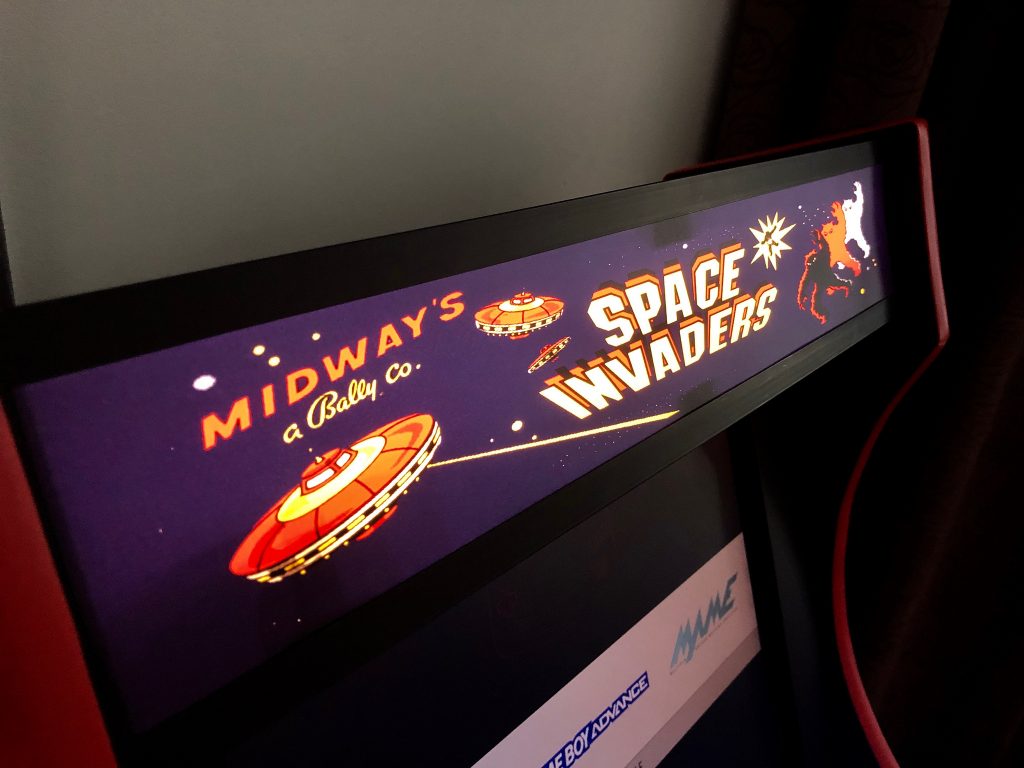
The marquee I designed myself, I ordered a 50cm x 9cm backlit folie at myposter.nl. The marquee is actually only 50cm x 8cm but the smallest print at myposter.nl is 9cm so I added some extra blue at the sides to cut of later. Don't order the marquee at drukland.nl because the sticker is very much see through and not suited for marquee. (I made that mistake :-()
The build
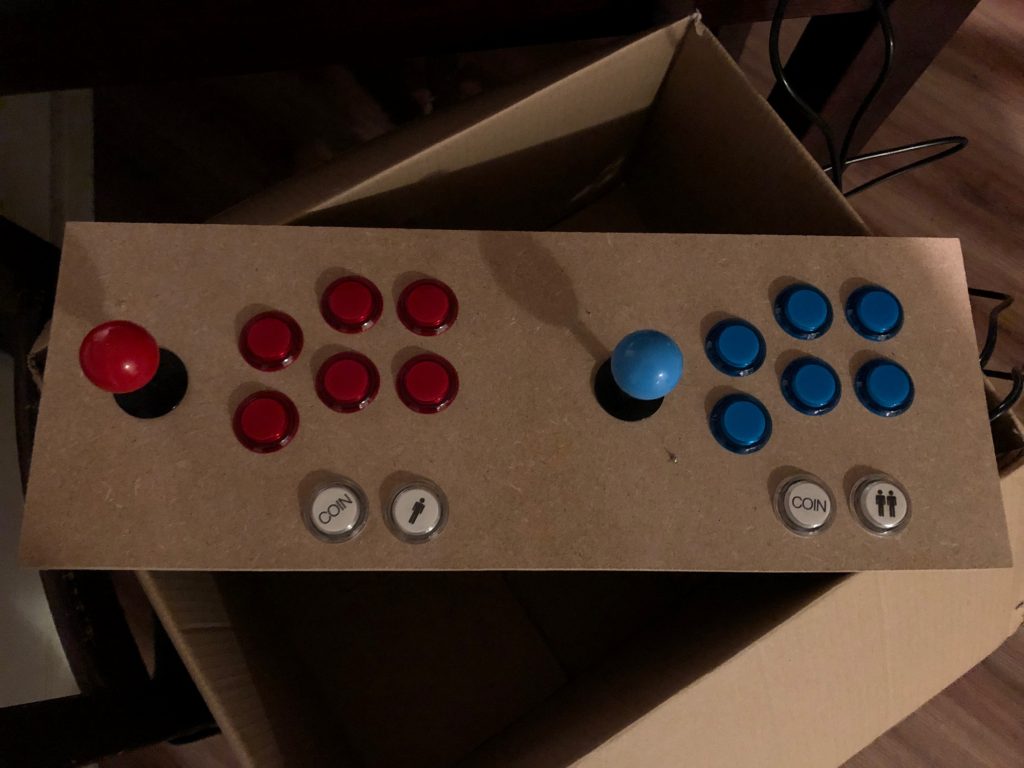
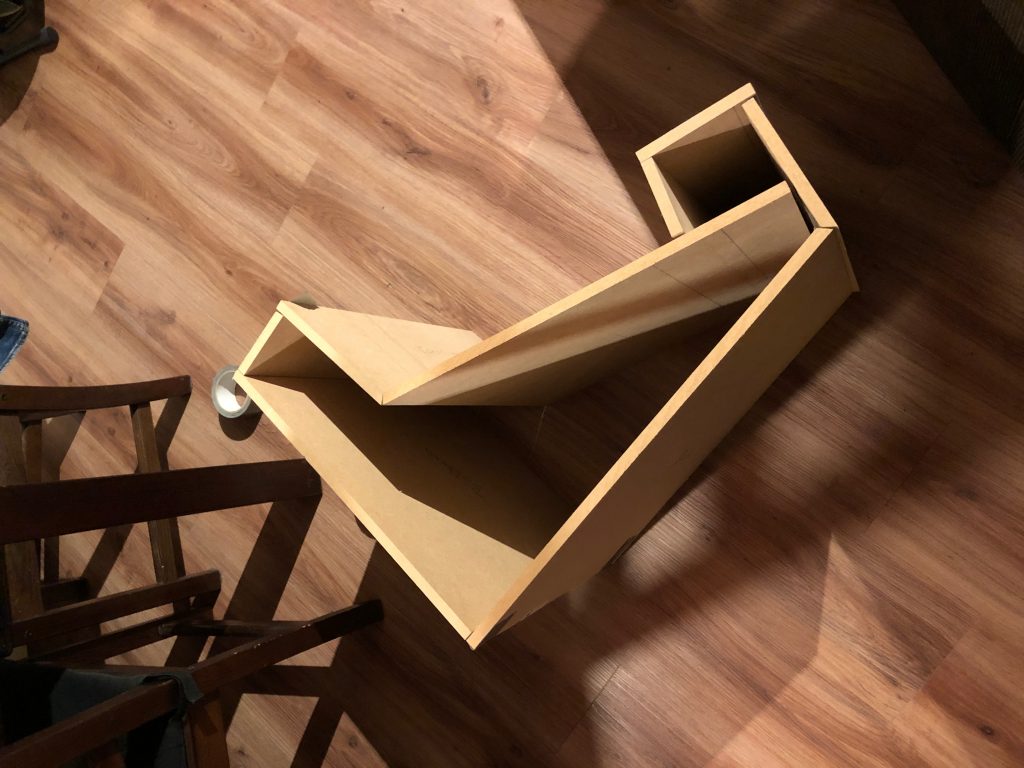
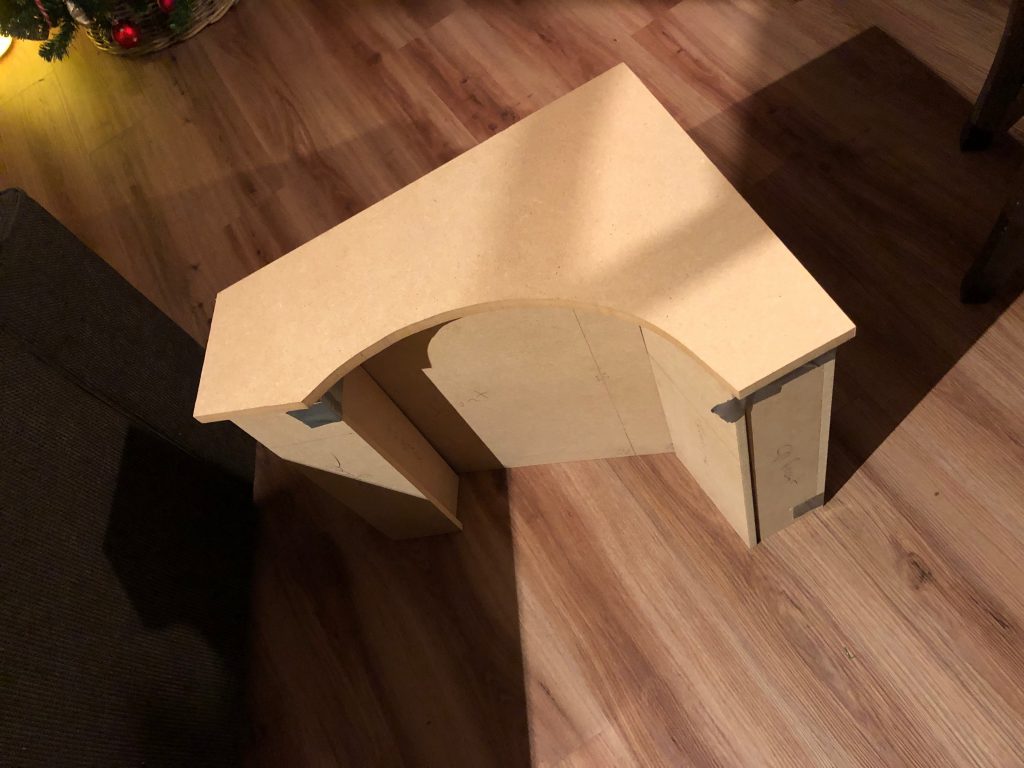
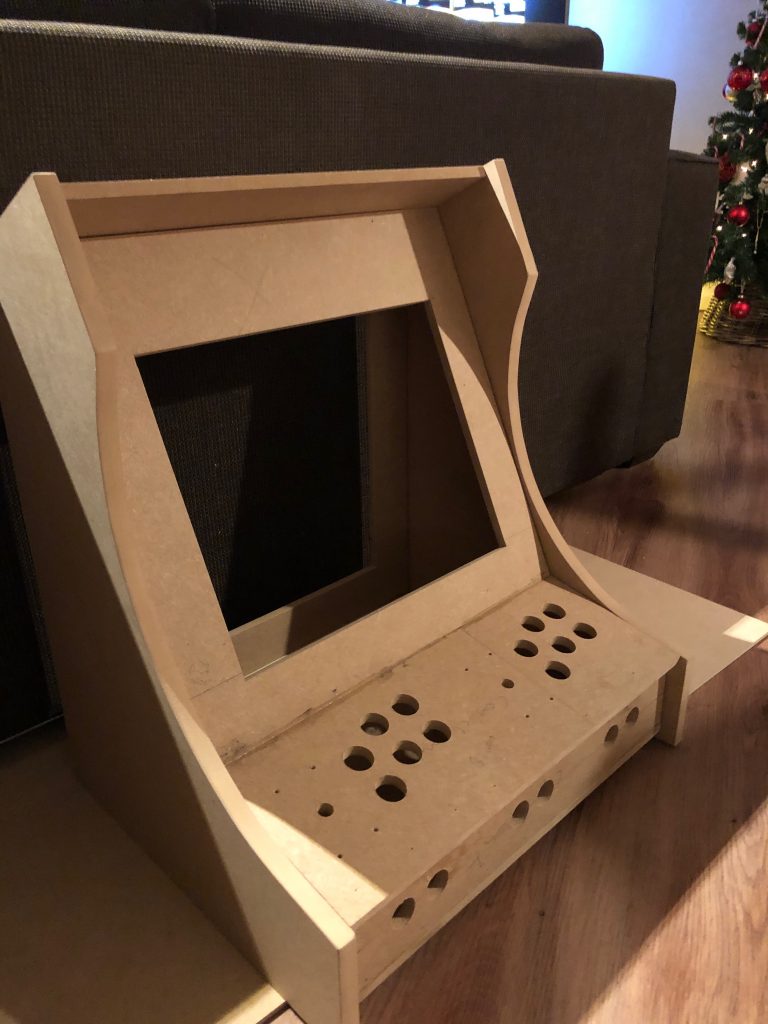
Some pictures of the build, to hold the cabinet together I used A lot of wood-glue and a nail-gun. For the controlpanel I first made a mock-up. Second picture, after cutting the wood, fitting the pieces together to check if everything is OK
Cutting holes
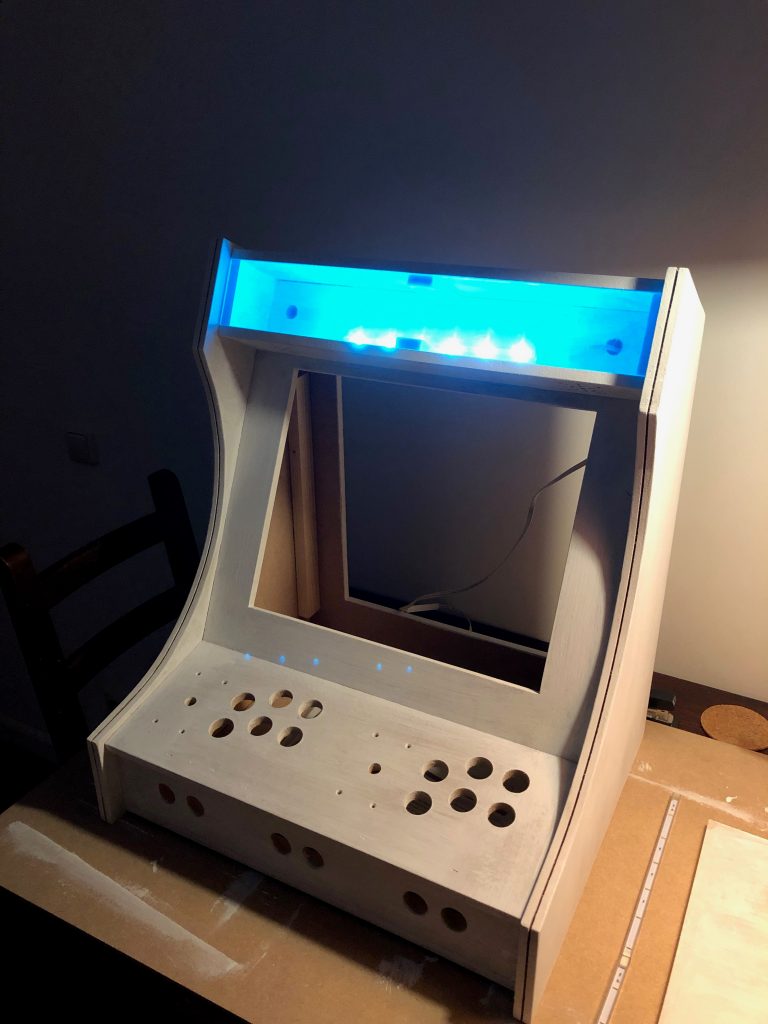
I had to cut two holes, one fore the 4:3 19-inch monitor and one for the backdoor. I used a jigsaw for this. I cut four holes in the corners to fit the saw blade through and used a straight plank of wood to guide the jigsaw for a straight cut.
Primer
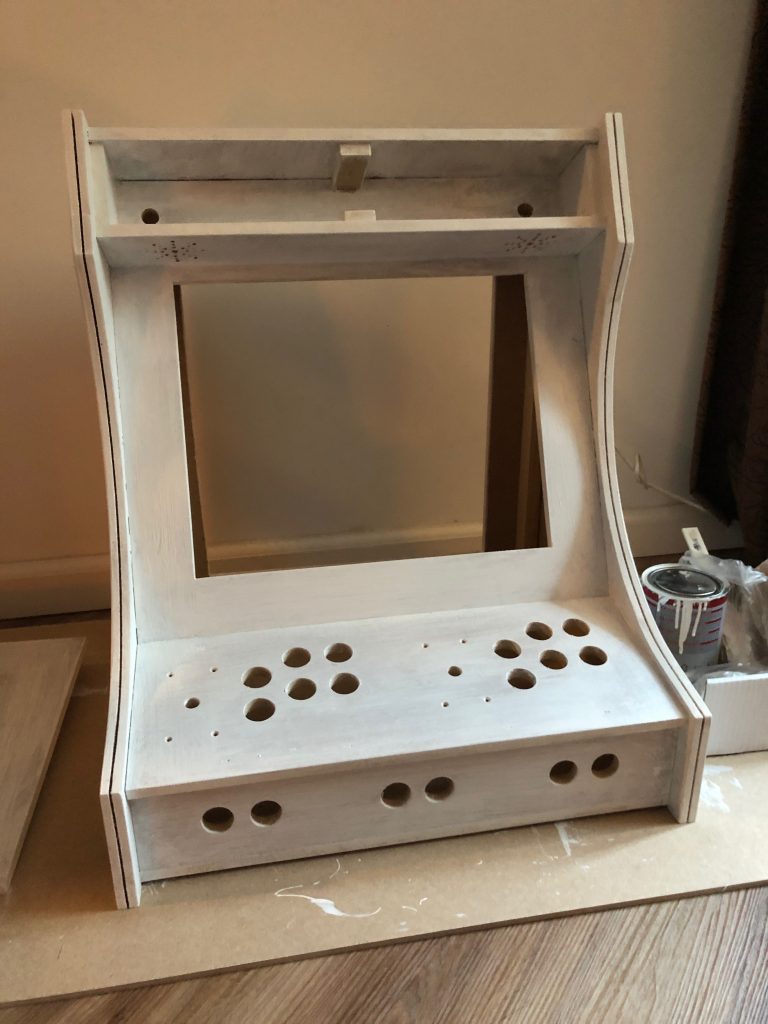
I used an white primer from the Action but I would not recommend this. Just buy a better quality primer and spray it on instead of painting it on.
Drilling Holes
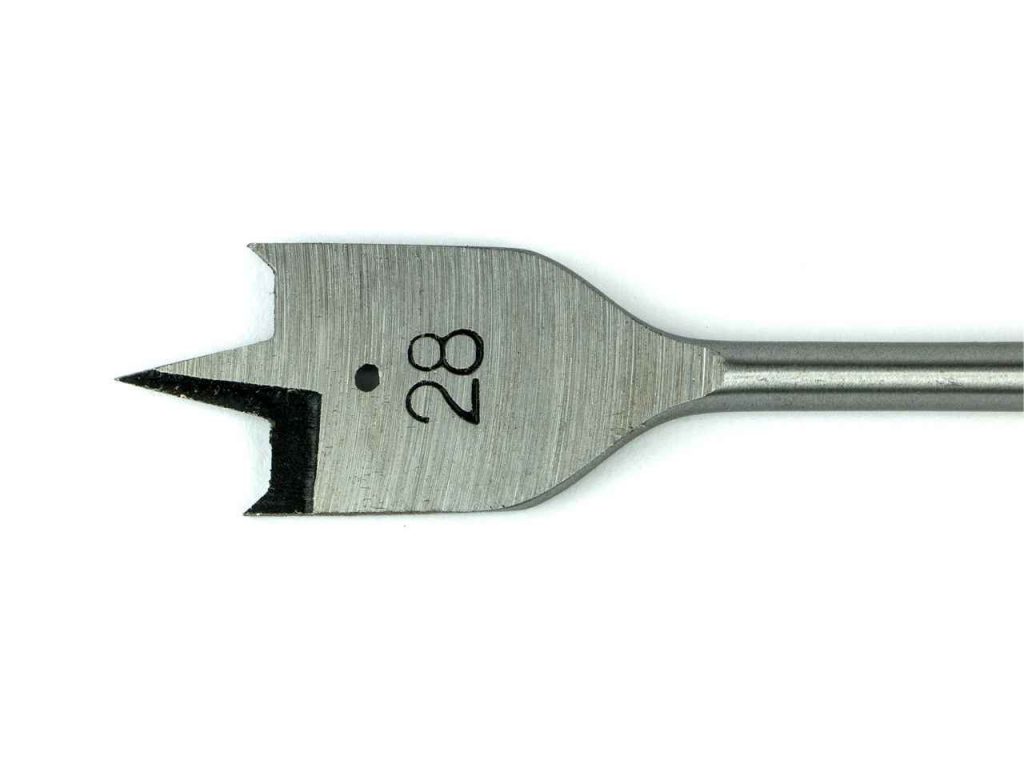
I drilled the holes for the arcade buttons with a 28mm flat drill bit. Be sure you clamp the controlpanel on another piece of wood when you drilling the holes
Cut and drill acrylic glass
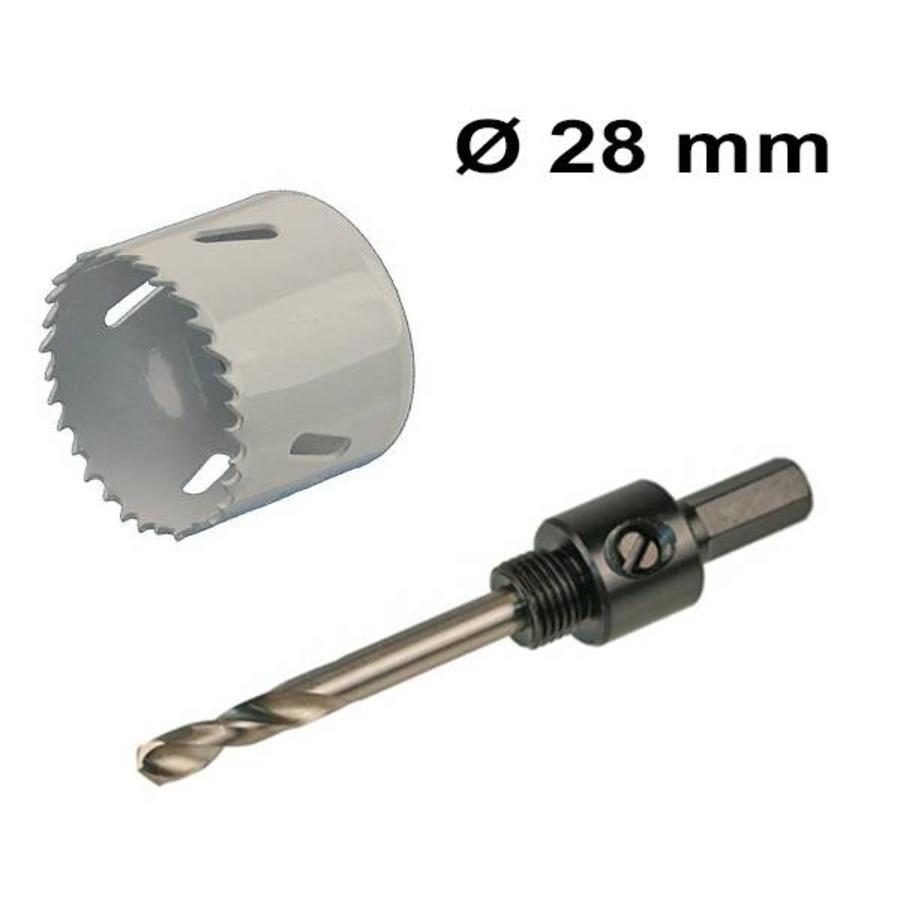
To cut through acrylic glass I used my jigsaw with a metal cutting blade, be sure to switch your jigsaw to slow speed, otherwise your acrylic will melt. For drilling the holes for the controlpanel I used a hole saw, be sure there is a piece of wood underneath the acrylic plate and switch your drill to slow speed.
The backdoor
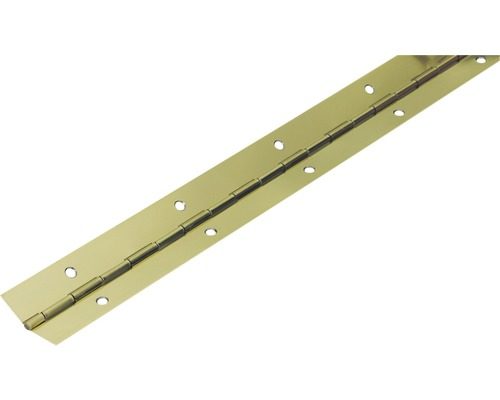
For the hinges of the backdoor I used like in the instructables a piano hinge, which I bought at the Karwei. I did not use the provided screws because they where to long.
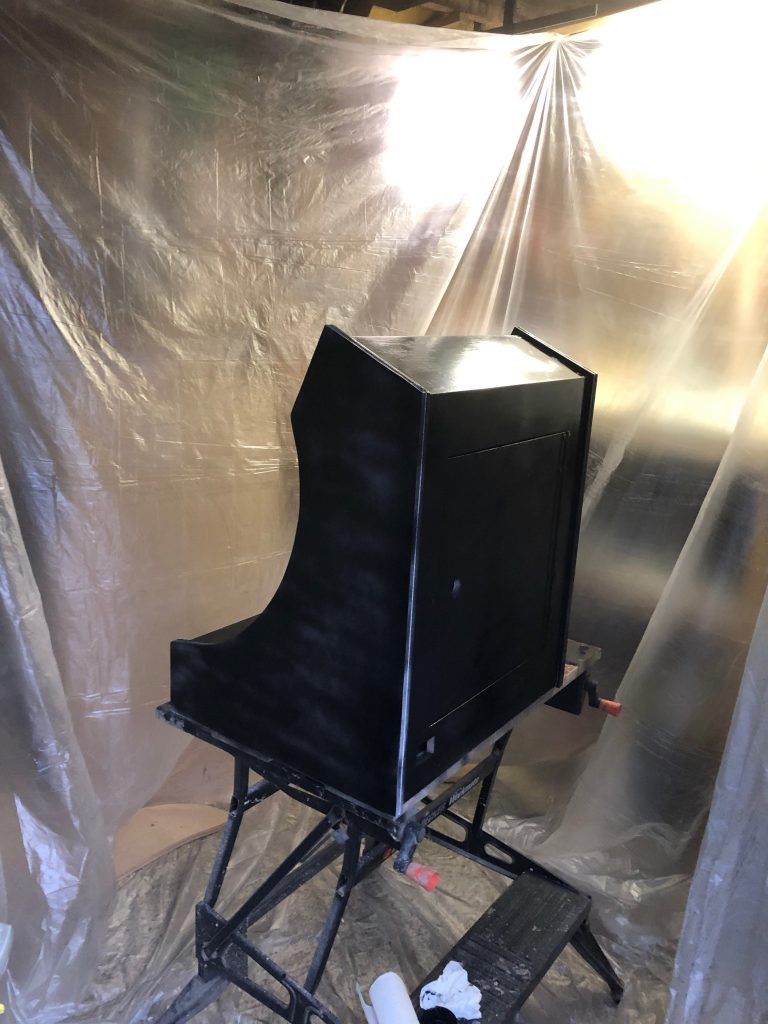
Spray Paint
I used black spray paint from the action to paint the cabinet. Be patient and apply multiple thin layer of paint in a dust free area. I used some thin plastic from the action to make some sort of spraypaint cabine.
Power supply
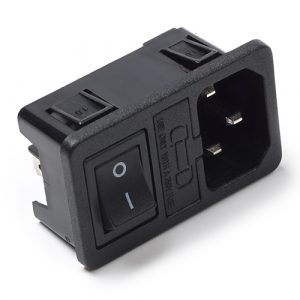
I mounted a C14 euro chassis mount to the cabinet so I can switch the whole cabinet on and off. I used one without screw holes, it may be better to order one with screw holes. Inside the cabinet I used a multi plug extension cord to power the amplifier, ledlights, and raspberry pi.
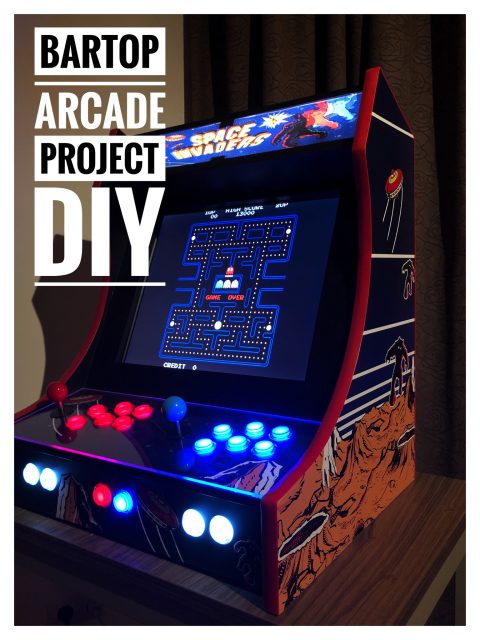
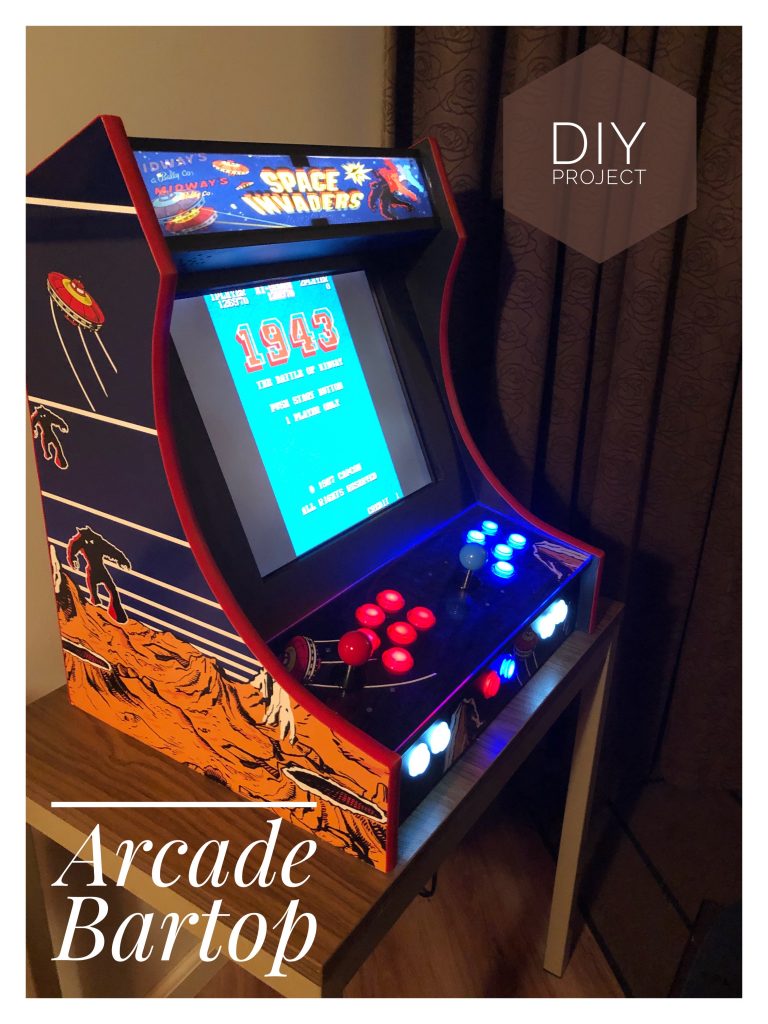
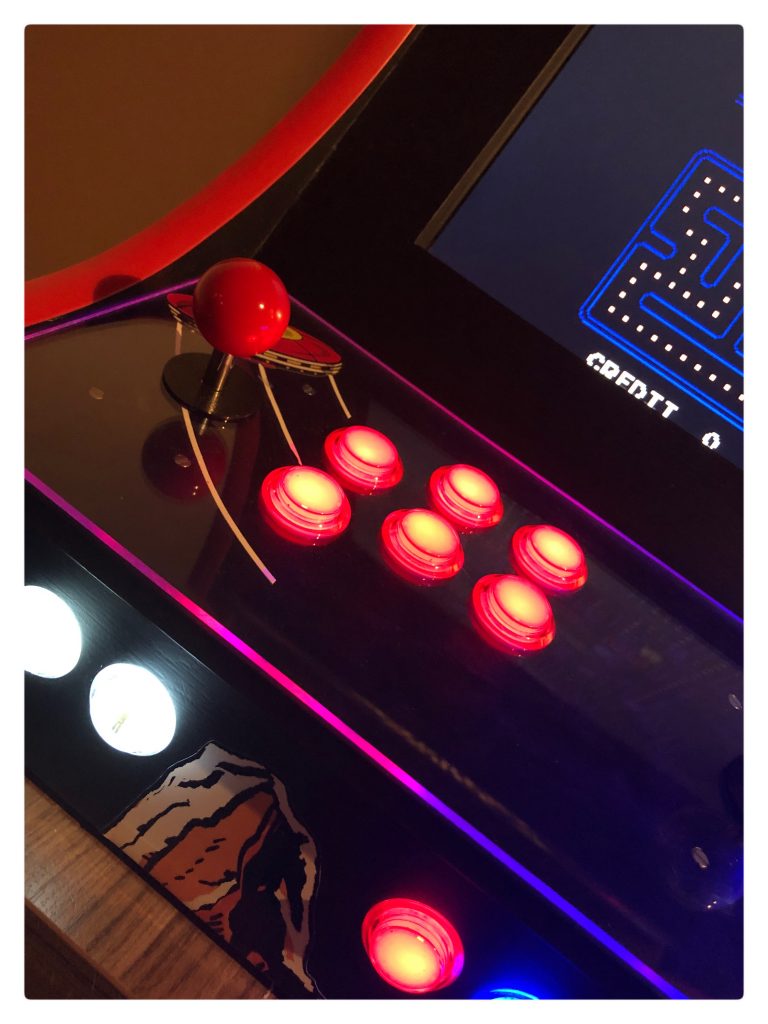
The final result
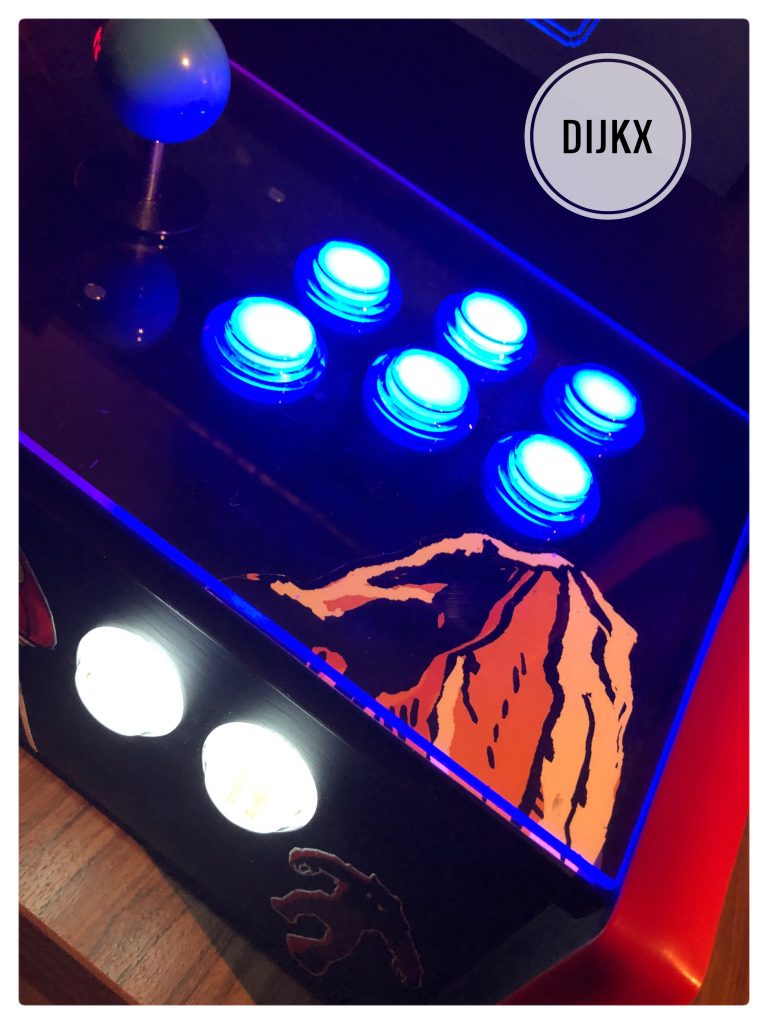
Some pictures of the finished cabinet. The Marquee sticker is not the final one yet.
Costs of the build
I made a split in the costs of tools and costs I made for the build of the cabinet itself. I think buying a tool is a good investment and always handy to own. I already owned a Raspberry pi 3 and a old speakerset, that is the reason of the 0,00 Euro pricetag
1 x MDF 18 mm board 1220x610 Euro 7,99
2 x MDF 12 mm board 1220x610 Euro 10,38
1 x T-molding 19mm red 3 meter euro 9,90
1 x nice price ledstrip Euro 9,95
1 x Acrylic glass 50cm x 50cm Euro 11,00
1 x Arcade set Euro 50,00
2 x Side Art 480mmx660mm Euro 26,00
1 x Marquee 50cmx9cm Euro 21,28
1 x Piano Hinge 50mmx32mm Euro 2,99
1 x Spraypaint black Euro 1,99
1 x Primer white Euro 3,49
1 x C14 chassis mount Euro 5,50
1 x Speakerset Euro 0,00
1 x Rasberry pi 3 Euro 0,00
Total cost: Euro 160,47
1 x Router bit Euro 14,99
1 x Flat dril bit 28mm Euro 6,49
1 x Hole saw 28mm Euro 13,39
Total cost tools: Euro 34,87
